How to Install cPanel on a VPS?
 Written
By
Puspendra Kumar
Written
By
Puspendra Kumar
Reading time: 4 minutes
There are multiple ways when it comes to managing your web hosting account on a Virtual Private Server. But none are as famous or simple as using cPanel. It is one of the well-known control panels in the industry, and setting one up on your very own cPanel VPS Hosting is not very complex. However, in the midst of all of this, there are some crucial things you need to understand before starting.
The main thing is difference between cPanel and Web Host Manager, abbreviated as WHM. A good way to understand WHM is to think of it as the admin panel for your VPS, while cPanel is what enables you to control the account you made through your WHM. Thus, if you want to set up cPanel, it is done through WHM.
Although it is not the cheapest option available out there, its user-friendly UI, along with the huge variety of plugins and tools that come with cPanel/WHM, make it the well-known panel software IT admins and webmasters prefer in 2025.
What will you require?
First of all, you require a VPS. Net2Secure provides various VPS plans solely for your specific needs. Make sure that you consider a plan that has the proper amount of resources. If not, you can always upgrade to the next size.
Our VPS plans all come with WHM and cPanel already installed, which makes set up more convenient. Therefore, you don’t have to install cPanel on our VPS, but you will need to create a cPanel account to use it.
Second, and most importantly, you will need to make sure you have the appropriate login credentials for your VPS. These should be offered when you make an account, but if you have misplaced them, you will need to contact to support desk. Once you have all of this, you won’t face any trouble in setting up cPanel on a VPS server.
cPanel Features
-
Domains / Addon Domains / Subdomains Management
-
E-mail accounts administration
-
Log files and Statistics
-
Database management
-
File Manager
-
SSL Certificates and other security settings
-
… and more
WHM Features
-
Server configuration and monitoring
-
Services fine-tuning
-
Backup settings and Migration tool
-
3rd-party plugins installation and management
-
Manage cPanel Own branding
-
Resellers management
-
… and more
Steps to Install cPanel on a VPS Server
Step 1: Disable firewalld and update the system
If you have an active firewall, disable and stop it before installing cPanel. Upon completion of the installation, you can re-enable it.

Then, update the server’s packages using the command below:

Step 2: Set Hostname (FQDN)
cPanel requires that the server be associated with a fully qualified domain name (FQDN) for the installation to begin and complete without errors.
Let’s say your desired hostname is cpanel.netshop-isp.com.cy, and this subdomain points to your server’s IP address. Then we are going to set it on the server as follows:

When the hostname file opens, delete any entries and enter your hostname, cpanel.netshop-isp.com.cy. Then save and close the file. Now, open /etc/hosts file and add the following entry (replace the IP with the real IP of your server):

Once done, save and close the file.
Step 3: Install cPanel/WHM
Once all the above steps are completed, you are now ready to download the official script and run it for the installation to begin.

If no errors come up, the installation should be finished in a couple of minutes.
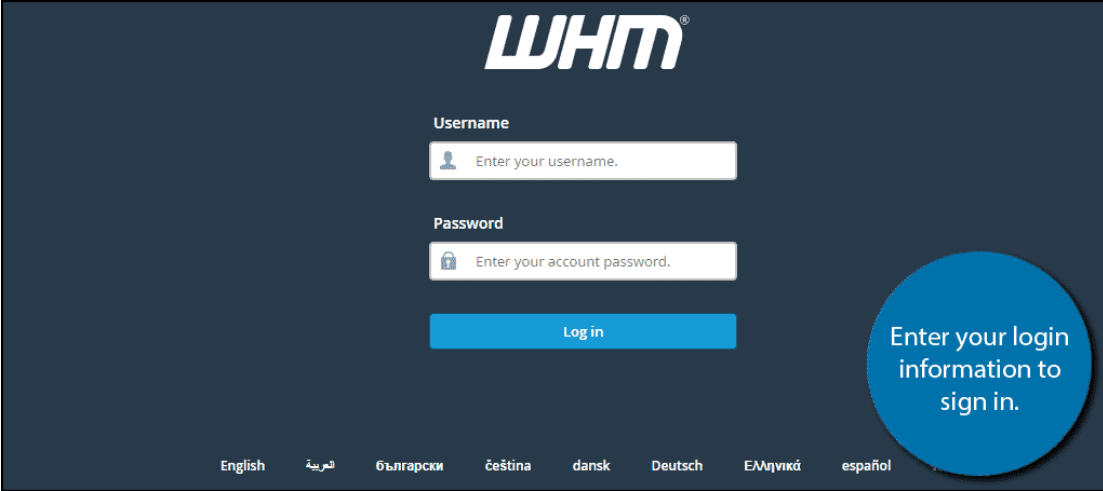
Step 4: Access WHM/cPanel GUI
You can now access your WHM GUI by typing the hostname or IP address in your browser, in any of the following ways:
https://[server-ip]:2087
https://[server-ip]/whm
https://fqdn-hostname/whm
https://fqdn-hostname:2087
Bonus Tip (If Required) - Activate License
cPanel licenses are tied to IP addresses, which means that when you order a cPanel license, you must provide the server’s IP for it to activate automatically after installation on the server.
If you possess a valid license that you bought and are still receiving the message to “Purchase a License” or “Continue with Trial”, run the following command on your server. The command will renew the license activation via the internet.

Thus, installing a cPanel account is just the beginning. As long as you plan to manage a domain, you will need to use cPanel. It has a wide range of features and will be an indispensable part of customizing your website, irrespective of the CMS you select.
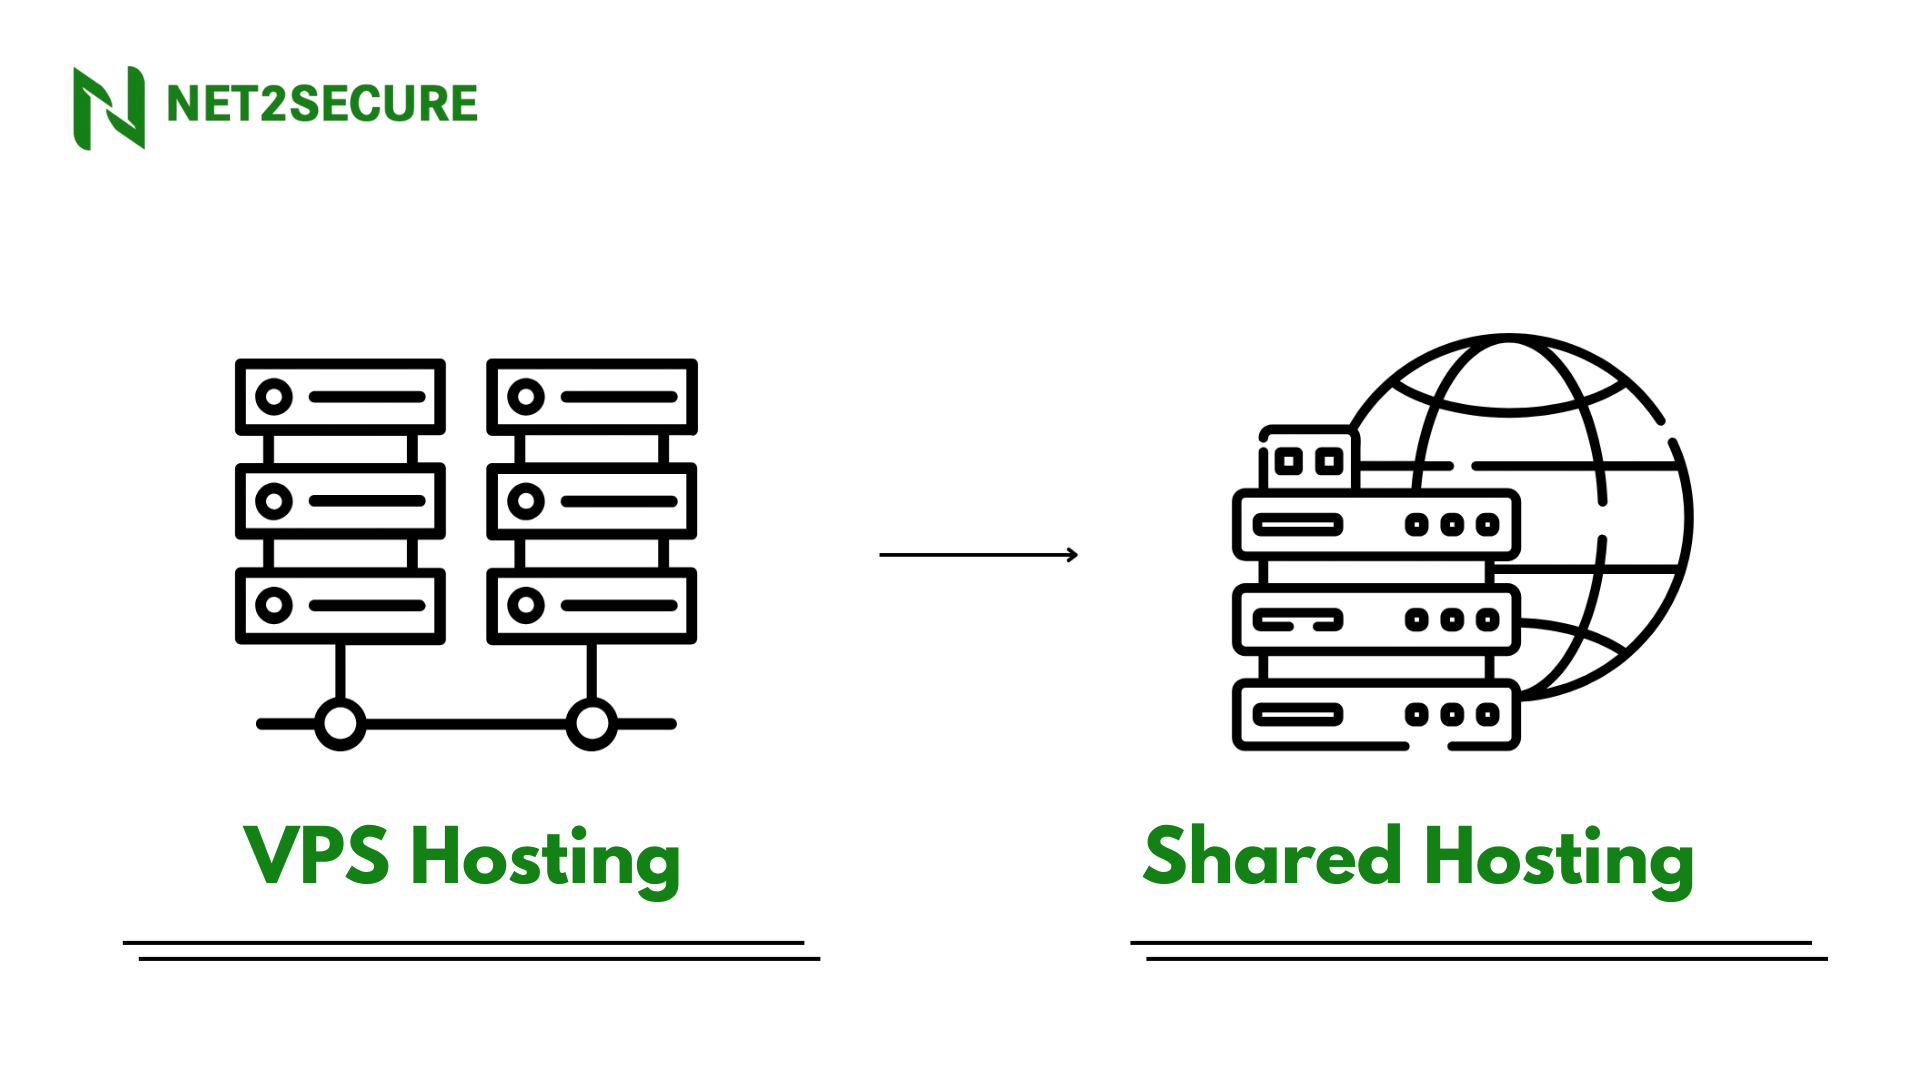
Related Topic:VPS Hosting vs Shared Hosting: Pros, Cons, and Key Differences