.png)
Summary: This blog post is powered by Net2Secure, which offers a complete guide to setting up a virtual private server. It describes everything from selecting the right VPS provider and connecting to your server to securing it with SSH keys and firewalls. If you are a newcomer or a pro developer, this guide will lead you to take complete control of your server environment
As digital technology continues to grow, Virtual Private Servers have come forward as a great solution for individuals and businesses looking for better control, security, and performance. Setting up a VPS enables users to create a virtual environment meeting their specific needs, offering a versatile platform for hosting websites, applications, and more. In this guide, we are going to explain how to set up a VPS, providing you with the knowledge and crucial insights crucial to navigate this transformative journey.
Whether you are a beginner to server management or a professional developer seeking to optimize your online presence, learning how to set up a VPS opens the door to limitless possibilities.
Understanding VPS Configuration
When it comes to a shared hosting plan, the provider will set up the server and its software for you, including the control panel. You can configure the hosting account, but not the host server settings.
On the other side, virtual private servers give you more freedom. You can install your preferred VPS control panel and configure the server environment. The VPS provider will only set up the virtualization and web server technology, such as LiteSpeed or Apache. Since users must consider and install the control panel or software themselves, setting up a virtual server takes time.
Developers mainly interact with a virtual private server using a secure shell network protocol through applications like PuTTY. It enables them to connect to the server, transfer files, and execute commands remotely, resulting in a more effective workflow.
What is VPS, and Why Prefer a VPS Instead of Shared Hosting?
A VPS operates by separating a strong physical server into multiple virtual servers. Each virtual server functions independently with its dedicated resources, such as CPU, RAM, and storage space. This architecture verifies that your digital assets are insulated from the activities of others, leading to improved performance and reliability.
One of the most compelling advantages of a VPS is its scalability. As your website or application grows, you can effortlessly scale up the resources to accommodate increasing traffic and complexity. This flexibility is a boon for businesses navigating the dynamic digital landscape, where traffic can fluctuate unpredictably. Moreover, VPS hosting offers an unprecedented level of control.
With root access to your server, you can customize the operating environment to suit your specific needs, install your preferred software, and implement robust security measures. This level of control is typically reserved for dedicated servers but comes at a fraction of the cost with a VPS.
Step-by-Step Guide to Set Up a VPS Server
-
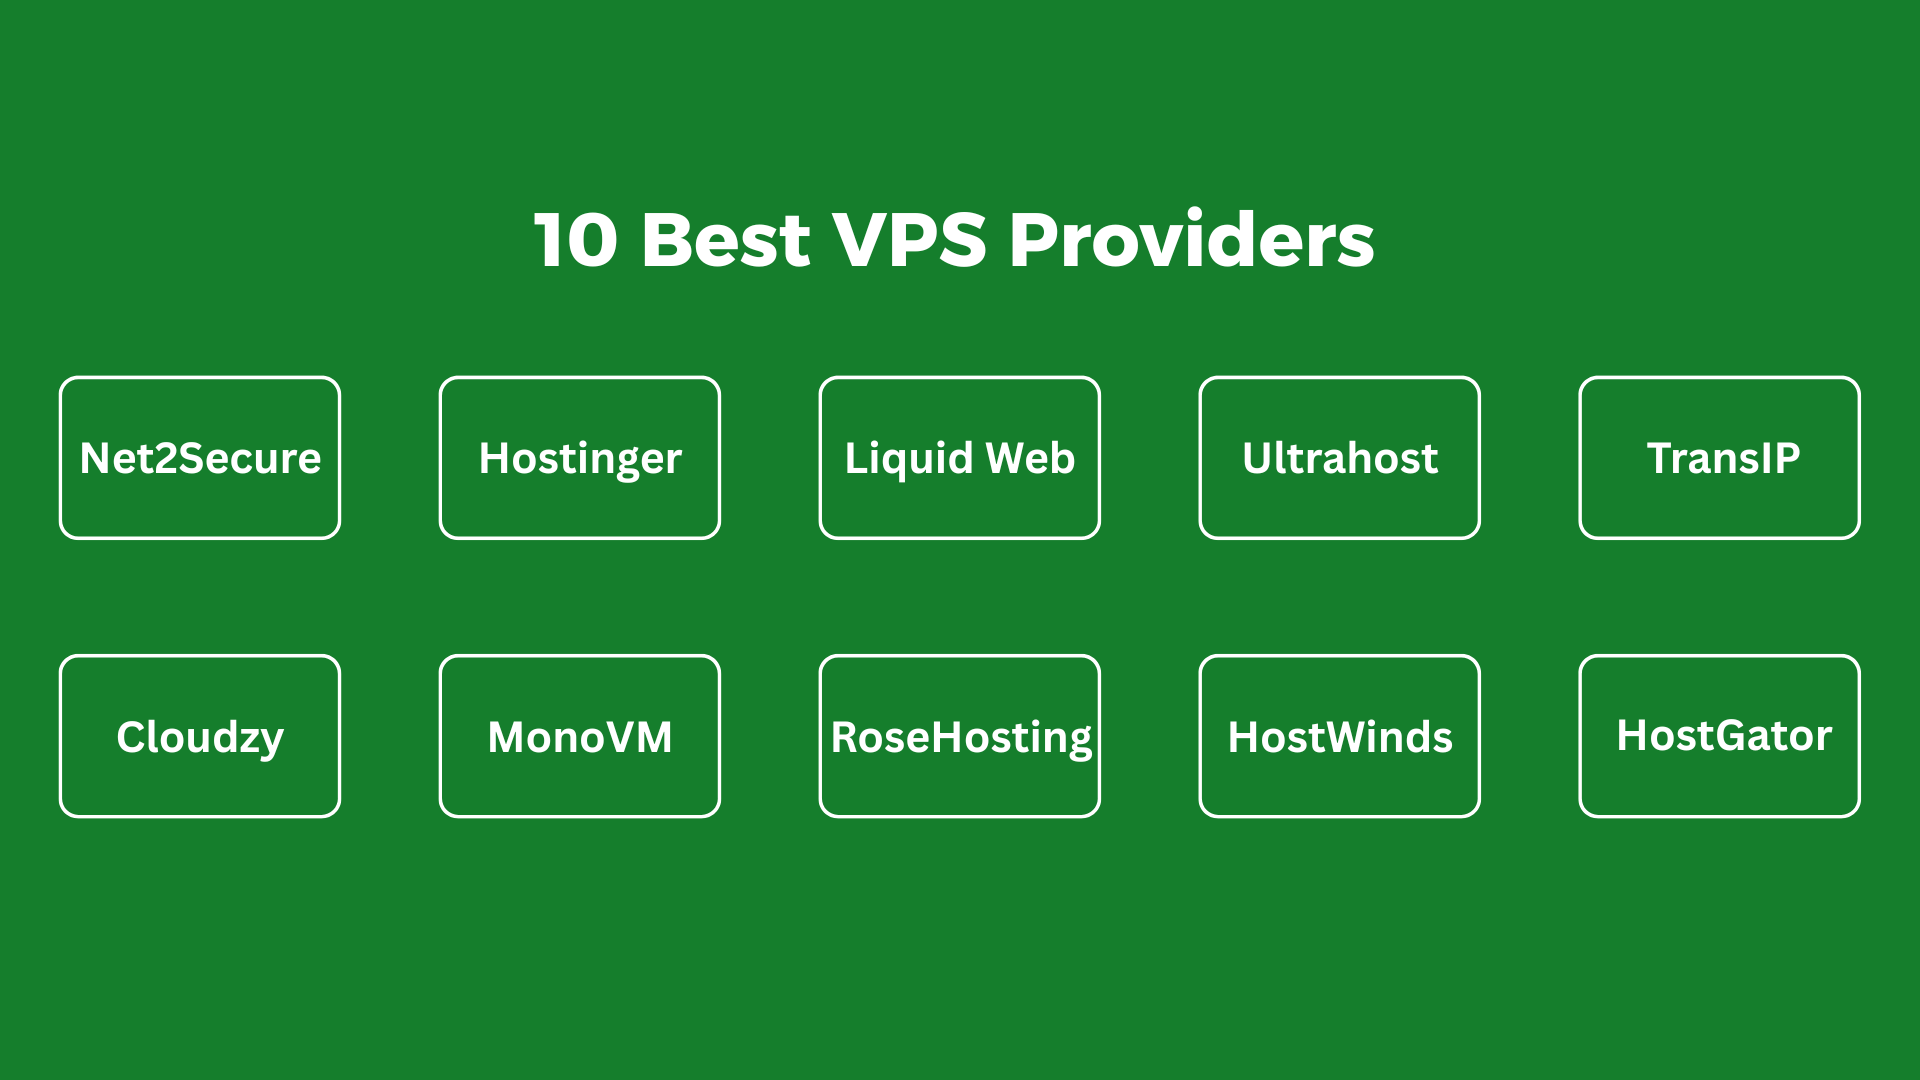
Select a VPS Provider: Considering the right VPS hosting provider is a crucial step in getting your virtual private server up and running. There are several factors to examine before you decide, but here’s why we think Net2Secure is the perfect choice:
1. Top-of-the-line hardware, up to vCPU cores, 64GB RAM, and 1.4 TB NVMe storage.
2. Complete root access for maximum control over your server.
3. 99.99% uptime
4. Hosted in ISO 27001 and Tier-IV certified data centers
-
Selecting and Purchasing a VPS: Once you have selected a VPS provider, it’s time to choose your VPS. It’s necessary to think about everything you’d like to do with your server, and to make sure the VPS you select is solid enough. It consists of accounting for how much storage space, RAM, and CPU speed you’ll require, as well as which operating system you’d like to consider. You’ve two options to choose from for your VPS: Windows and Linux.
-
Connecting to Your VPS: Once you have selected a VPS, the next step in getting it set up is connecting to it. There are multiple options to follow when connecting to your VPS, and these depend on your selected operating system.
1. Windows: If you have a Windows VPS, you’ll be using the Remote Desktop Tool (RDP), and the steps are quick to follow. The Remote Desktop Connection application will already be installed on your Windows OS, so all you will need to do is search for this application on your computer.
Once it starts, you can enter your VPS IP address into the correct box, your VPS host should have offered this IP address for you as soon as your VPS was provisioned. You should have also been given a root username and password, which you’ll need to enter next. After clicking to connect, you’ll have administrator access to your Windows VPS and will be able to finish your setup and customization.
2. Linux: For a Linux VPS, you’ll need to form a Secure Shell (SSH) connection through an application known as PuTTY, which can be a slightly longer process. SSH enables you to establish a secure, encrypted connection to your server, allowing you to perform commands and make modifications to your VPS.
To access your VPS through SSH, open PuTTY and enter your VPS IP address. The first time you link to your VPS from a device, a pop-up will show up – click ‘Accept’ to continue with the connection. Lastly, you can input your root username and password, which should have been given to you previously. You are now linked to your Linux VPS and signed in to your root account.
Note: Apart from this, if you want to know how to connect to your Linux VPS via SSH in an explicit way, you can read our previous blog post - A Complete Guide to Connect to Your Linux VPS via SSH
On the other hand, you can prefer the Terminal to establish an SSH connection because SSH acts only for a command-line interface. If you’re using a Unix-based operating system such as Linux or macOS, you can start connecting via Terminal by entering the following command: $ Ssh [root username]@[server IP]
Then, all you require to do is offer your login credentials to set up the connection.
-
Getting Started with Server Management: A self-managed VPS provides considerable flexibility, but it also indicates that you're in charge of handling your server. Server management encompasses all tasks from staying current with updates to installing any necessary software. When you opt for a Fasthosts VPS, modifications can be made through our Control Panel. You can additionally track resource consumption, along with starting, restarting, and powering off your server.
-
Updating Your Server: Since you’ll be handling your server on your own, it’s crucial to get a strong grip on updating it accurately. Operating outdated server software can make your VPS more vulnerable to security concerns, and if you host a website on your VPS, this outdated software could compromise site visitors’ data.
-
Create a New User with Superuser Privileges: SSH users can be allocated different privileges to manage VPS administration and make it less likely for fatal errors to occur. So far, you’ve been setting up your VPS as the root user or administrator, which means you have full control over your VPS.
The solution is to create a second user account with superuser privileges instead of unlimited root privileges. Superuser accounts can still make changes to the VPS, but there are controls in place to overcome risk. Firstly, superusers must use the ‘sudo’ prefix to execute commands with complete root privileges.
To add on a new user to your VPS, use the command mentioned below:
$ Adduser [the new user’s username]
Then, you’ll need to add this user to the sudo group to grant the correct privileges:
$ Adduser [the new user’s username]
Ultimately, you can create a password for this user account and log in with it after completing your current SSH session.
-
Create SSH Keys: Next, you should concentrate on server security. You should already have a solid password, but to secure your SSH connection even further, we would suggest allowing public key authentication. It authenticates individual users with a public-private key pair, ensuring that no unauthorized parties can gain access to your VPS.
1. Windows: You can conveniently create these SSH keys on a Windows VPS using PuTTYgen, which typically comes pre-installed with PuTTY. In the PuTTYgen program, adjust your key settings and then click ‘Generate’ to produce both keys. Next, you can input the key passphrase and select ‘Save private key’ to save the private key to your computer. Next, transfer the public key to your VPS by executing these commands from your root account: mkdir ~/.ssh chmod 700 ~/.ssh nano ~/.ssh/authorized_key
It will create a folder for the public key, restrict its permissions, and open the authorized_key file with the Nano text editor, which you should install at the start of this process. Copy your public key from PuTTYgen and paste it into Nano. Press Ctrl + X to close Nano and press Y to accept the changes. Once you have done this, you should use the following command to change the file’s permissions: chmod 600 ~/.ssh/authorized_keys
Then use the exit command to complete the process. The next step is to set your key pair, which you can do via PuTTY’s main menu:
1. Click on ‘Connection’, ‘SSH’, and then ‘Auth’.
2. Go to the ‘Private key file for authentication’ field and select ‘Browse’.
3. Select your new private key to set this key pair.
Now you need to disable your account’s password authentication mechanism. Use the following command: Sudo nano /etc/ssh/sshd_config
This will open the sshd_config file. All you require to do is modify the Yes value to No in the password authentication line. After rebooting your VPS, all of these changes should have been applied, which means you’ll be asked for a private key and passphrase to authenticate the SSH connection next time you connect.
Once it starts, you can enter your VPS IP address into the correct box, your VPS host should have offered this IP address for you as soon as your VPS was provisioned. You should have also been given a root username and password, which you’ll need to enter next. After clicking to connect, you’ll have administrator access to your Windows VPS and will be able to finish your setup and customization.
-
Configure a Firewall: The last and crucial step in securing and setting up your VPS is to set up a firewall. Having a firewall means you can set some rules to filter incoming and outgoing traffic, thus stopping hackers from using this traffic to launch an attack on your server. Several Linux distributions use a firewall called iptables, but Fasthosts customers can prefer their control Panel to insert new firewalls and configure firewall rules.
Conclusion
At first glance, setting up a VPS server seems very challenging, but once you break it down into manageable steps, it becomes a straightforward process. No matter if you are launching a website, running applications, or managing development environments, a VPS provides you with the flexibility, control, and performance to evolve confidently in the digital space. With the right setup, your VPS can become a solid foundation for your online journey in 2026 and beyond.


 (1).png)
.png)

.png)