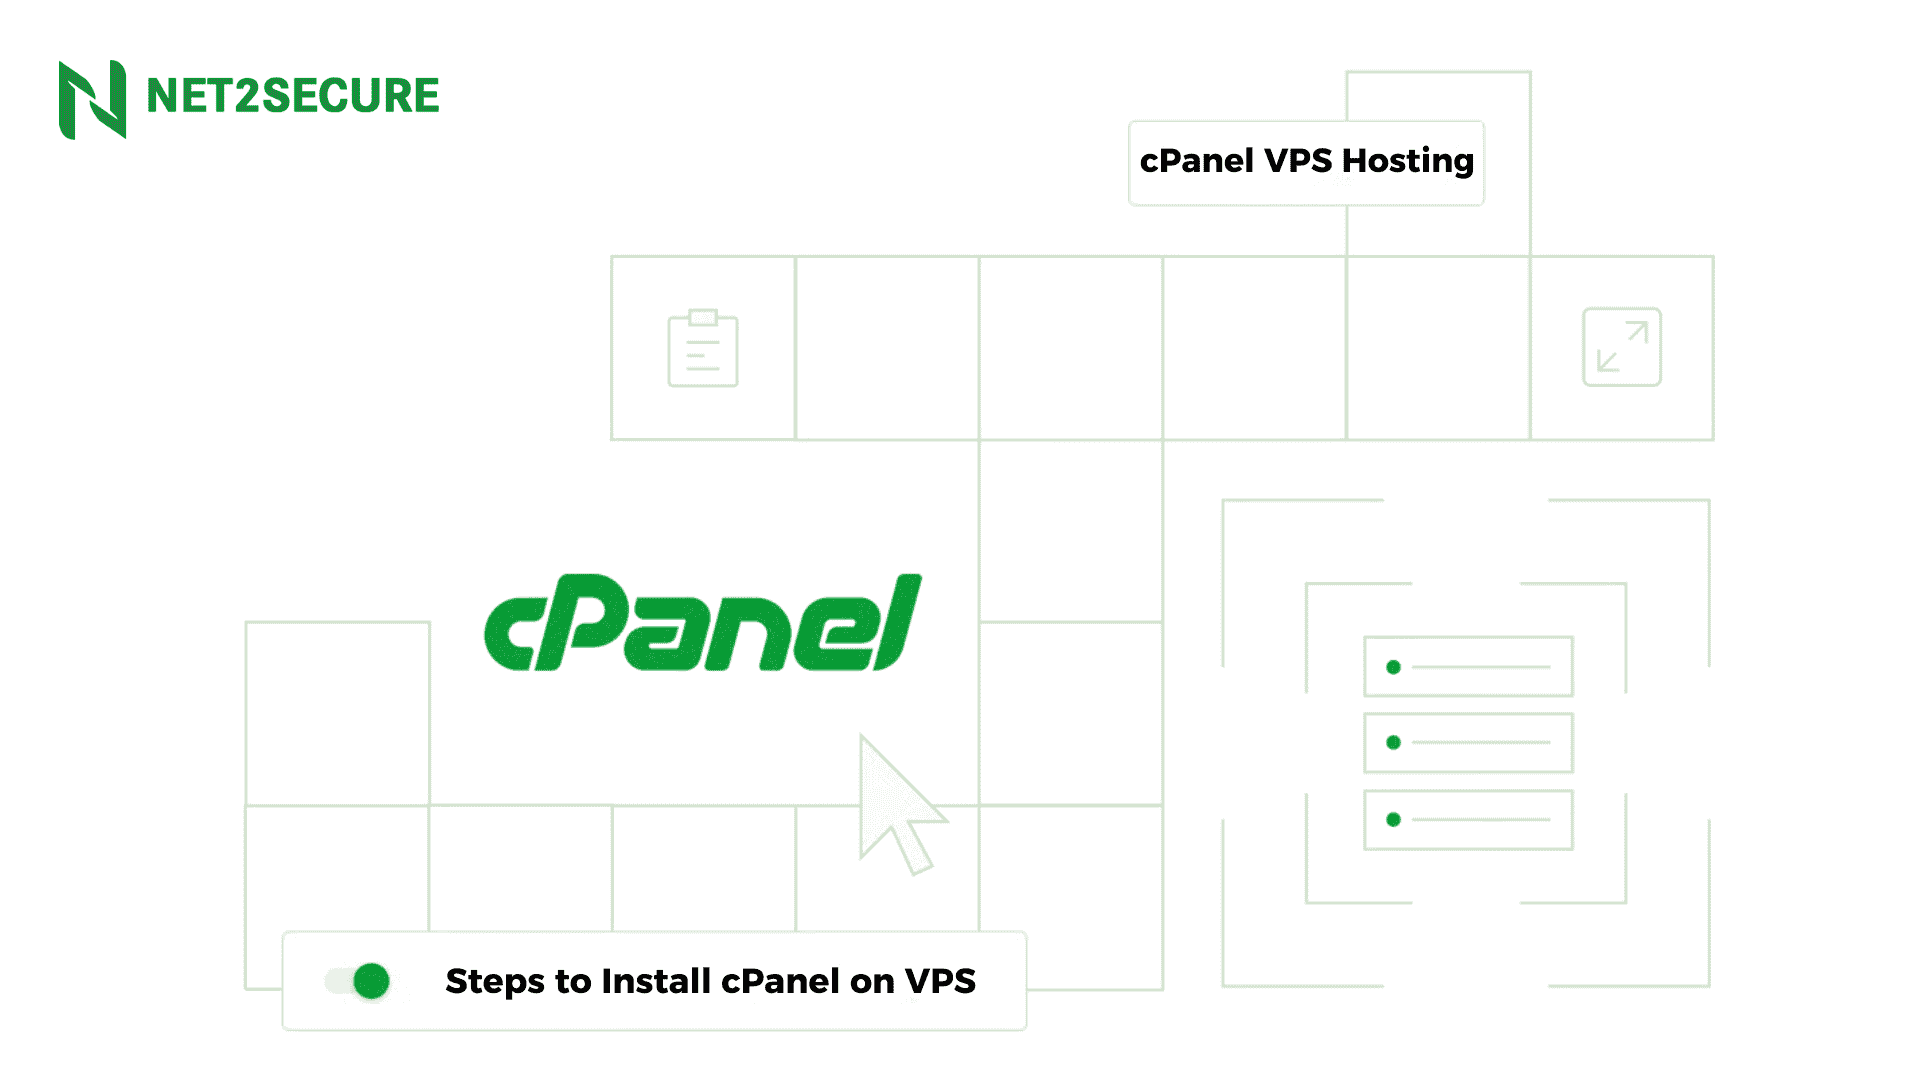
How to Set up cPanel WHM on a VPS?
 Written
By
Puspendra Kumar
Written
By
Puspendra Kumar
Reading time: 4 minutes
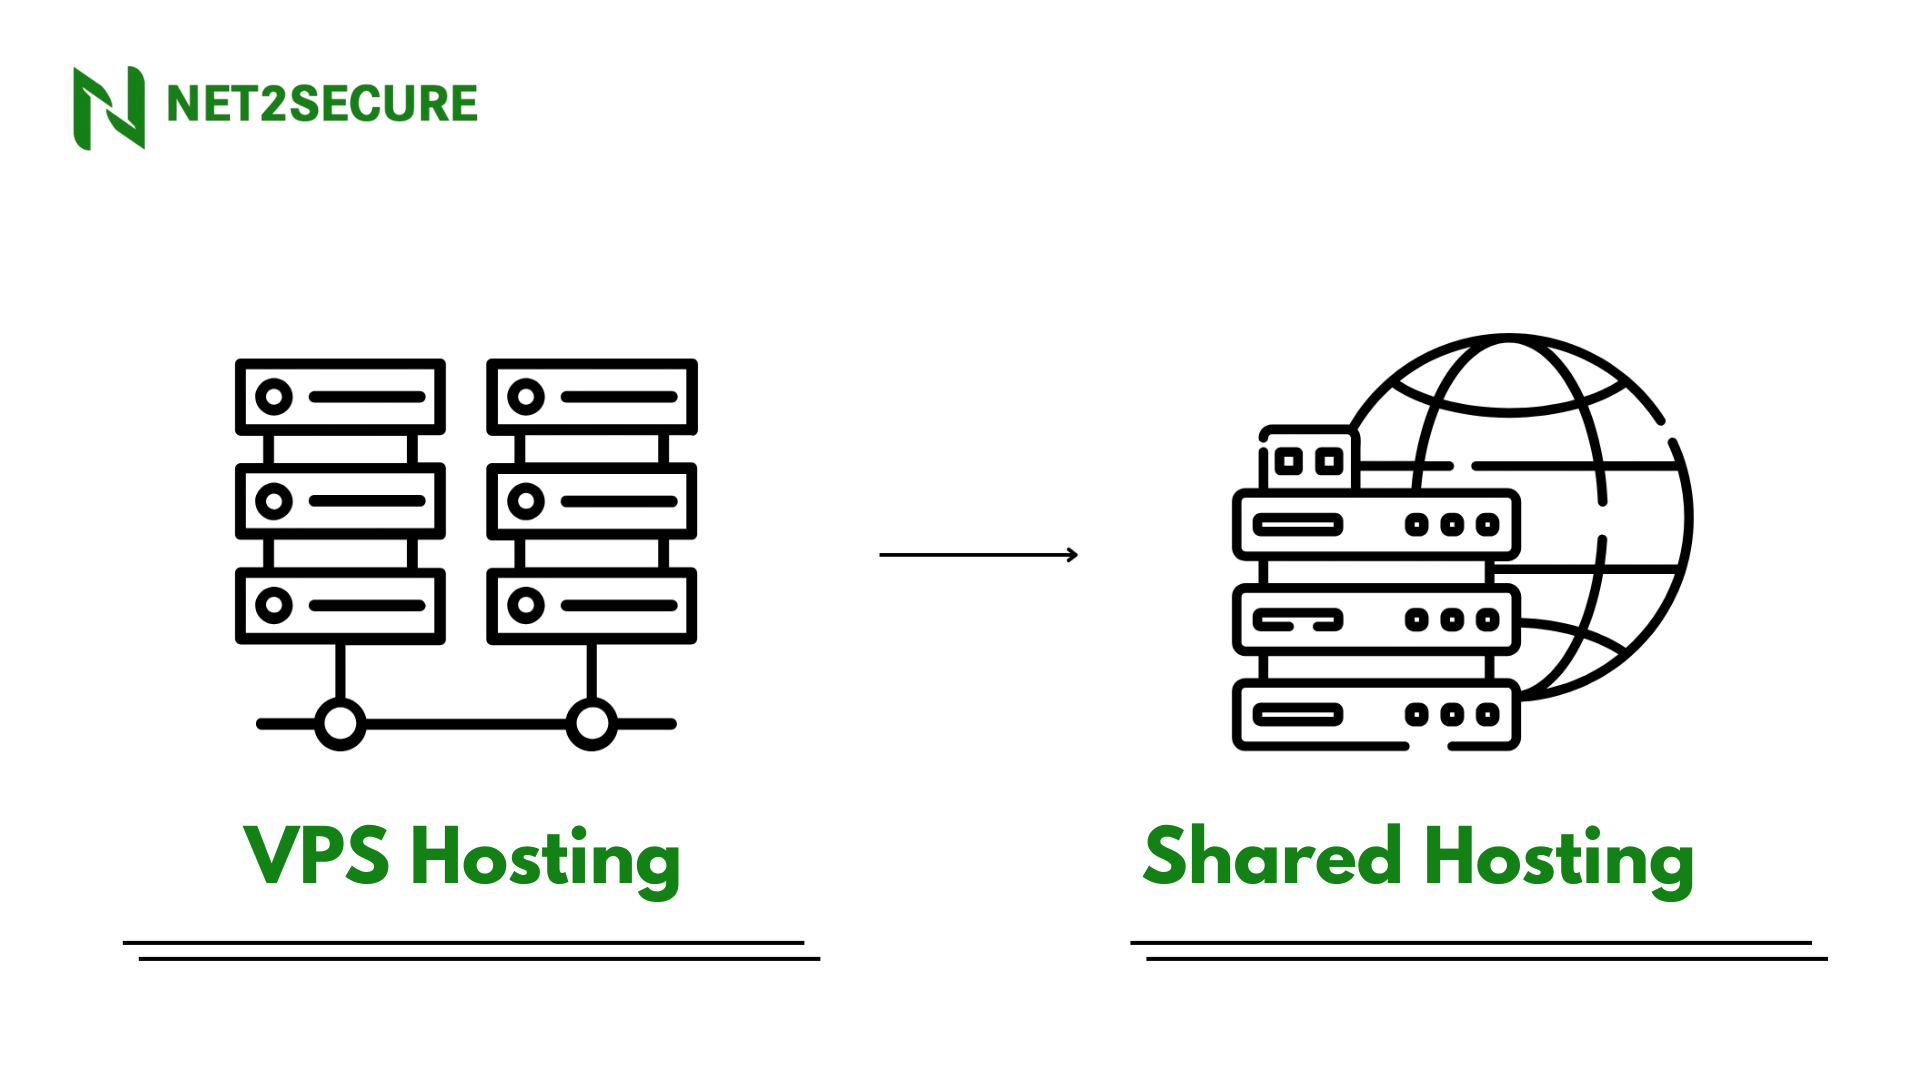
Preparing cPanel WHM on a VPS makes it simple to manage websites, domains, emails, and server resources from a single interface. No matter if you are hosting multiple sites or giving hosting services to clients, WHM offers you complete control, while cPanel offers a user-friendly dashboard for end-users. Here in this guide, we will discuss the crucial steps to setting up WHM on your VPS.
What is cPanel/WHM?
cPanel & WHM enables hosting firms and users the ability to automate server management tasks while delivering your customers the tools they require to manage their websites.
Understand WHM and cPanel
One of the most prominent control panels among hosting firms is cPanel. It is generally used in conjunction with WHM, Web Host Manager. Both tools cooperate closely while each performs a distinct function. The server’s administrative functions are controlled by the web host manager. It handles several websites and different accounts in addition to server specifications. cPanel hosting is the process of a hosting company managing a server with WHM and setting up cPanel accounts for their clients.
WHM refers to a management interface designed for administrators, enabling them to manage different cPanel accounts, set up hosting packages, configure security, and perform server-level tasks.
cPanel, on the other hand, is a user-friendly interface for individual website owners, allowing them to handle files, domains, databases, email, and more.
Crucial Requirements to Install cPanel/WHM on CloudLinux
Suppose you can install cPanel & WHM on AlmaLinux version 7, 8, or 9, but you cannot install cPanel & WHM version 112 and later on CloudLinux version 6 or 7. So, make sure your CloudLinux system satisfies all the minimal criteria for a new installation before you install cPanel & WHM:
-
Log in to the server as the root user
-
20 GB RAM
-
A Linux VPS with CloudLinux 8/9 Operating System
-
At least one IPv4 address
cPanel/WHM Set up on CloudLinux Step-by-Step
Once you have delivered all the needed prerequisites of the earlier part, you are ready to follow the simple steps below to install cPanel/WHM on CloudLinux.
Step 1: Update Server
Before installing cPanel, update the server with the following command. Depending on the speed of your network and the worth of your resources, the update procedure will take a moment.
![]()
When prompted to continue with the update, simply type y and press Enter.
Step 2: Disable Firewall
During installation, the installer will make an effort to open the needed ports. Before starting the installation of cPanel and WHM, we advise you to disable any OS firewalls. We suggest that after the installation is finished, you configure a firewall using a third-party client like APF or CSF.
Apply the commands below to deactivate the firewall on CloudLinux:
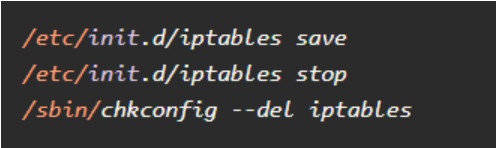
Also, to deactivate firewalls on CloudLinux 7, 8, and 9, follow the commands below:
Step 3: Disable SELinux
Before starting cPanel and WHM installation, you must disable SELinux in order for your system to be compatible with the installation of cPanel. To do this, apply:
Update the following entry in /etc/sysconfig/selinux to permanently disable SELinux.

Step 4: Set up Hostname
cPanel needs a hostname that should be in Fully Qualified Domain Name Format. Make sure to offer your system a suitable, fully qualified hostname. To set a proper hostname type:

Step 5: Install cPanel/WHM
Since your cPanel/WHM installation preparation is now done, you can run each of the previously mentioned commands one at a time to install WHM/cPanel on your system.

Step 6: Activate cPanel/WHM License on CloudLinux
To activate the trial cPanel license, sign in to your cPanel store account. Log in if you already have an account, and if not, create one now. When you install cPanel/WHM on CloudLinux, you can shift to your cPanel web interface to create a free license. So, with the reference to this guide, you have learned how to install cPanel/WHM on CloudLinux.
The network manager service will be quickly turned off by the cPanel & WHM installer on systems operating CloudLinux. But, in the case of operating CloudLinux 6 and 7, you need to disable Network Manager before you run cPanel/WHM installation, since it automates the network’s settings and disrupts connections to the IP addresses that reside in the ipaliases module.